 Save
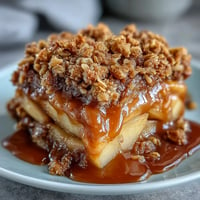
Save There's something about assembling desserts in glasses that makes you feel like you're running a fancy café instead of standing in your own kitchen. I discovered this strawberry cheesecake parfait on a Tuesday afternoon when I had cream cheese, fresh strawberries, and a sudden urge to impress someone without turning on the oven. No baking required meant I could actually pull it off without stress, and honestly, the layered effect looked far more sophisticated than the fifteen minutes it took to throw together.
I made these for a small dinner party last summer, and I remember my friend Sarah's reaction when I set them down—she actually paused mid-conversation. The strawberries were at their peak, the cheesecake was perfectly fluffy, and somehow those simple layers in a clear cup made everyone feel like they were eating something from a Michelin-starred restaurant. That's when I realized this wasn't just a dessert; it was a conversation piece.
Ingredients
- Cream cheese (225 g): Make sure it's softened to room temperature, or you'll end up with lumps no matter how hard you beat it—I learned that the hard way.
- Heavy cream (120 ml): This is what turns dense cream cheese into something cloud-like and elegant.
- Granulated sugar (50 g for cheesecake, 1 tbsp for strawberries): Divide carefully; too much in the cheesecake makes it grainy.
- Vanilla extract (1 tsp): Don't skip this—it's the backbone of the flavor profile.
- Fresh strawberries (250 g, hulled and diced): Choose ones that smell sweet; the smell tells you everything about the flavor.
- Lemon juice (1 tsp): This brightens the strawberries and keeps them from tasting one-dimensional.
- Digestive biscuits or graham crackers (100 g, crushed): The texture should be like wet sand, not powder—crushing them by hand in a bag works perfectly.
- Unsalted butter (30 g, melted): This binds everything together into something you actually want to eat, not sandy crumbs.
Tired of Takeout? 🥡
Get 10 meals you can make faster than delivery arrives. Seriously.
One email. No spam. Unsubscribe anytime.
Instructions
- Prepare the strawberries:
- Toss your diced strawberries with a tablespoon of sugar and lemon juice in a bowl, then let them sit for ten minutes. You'll watch the berries release their juice and get slightly syrupy—this is exactly what you want.
- Make the cookie crumble:
- Mix your crushed biscuits with melted butter until it looks like wet sand. This layer becomes the sturdy foundation, so don't skimp on the mixing.
- Whip the cheesecake mixture:
- Beat together softened cream cheese, heavy cream, sugar, and vanilla until it's smooth and fluffy—this takes about three minutes with an electric mixer. The texture should look almost cloud-like.
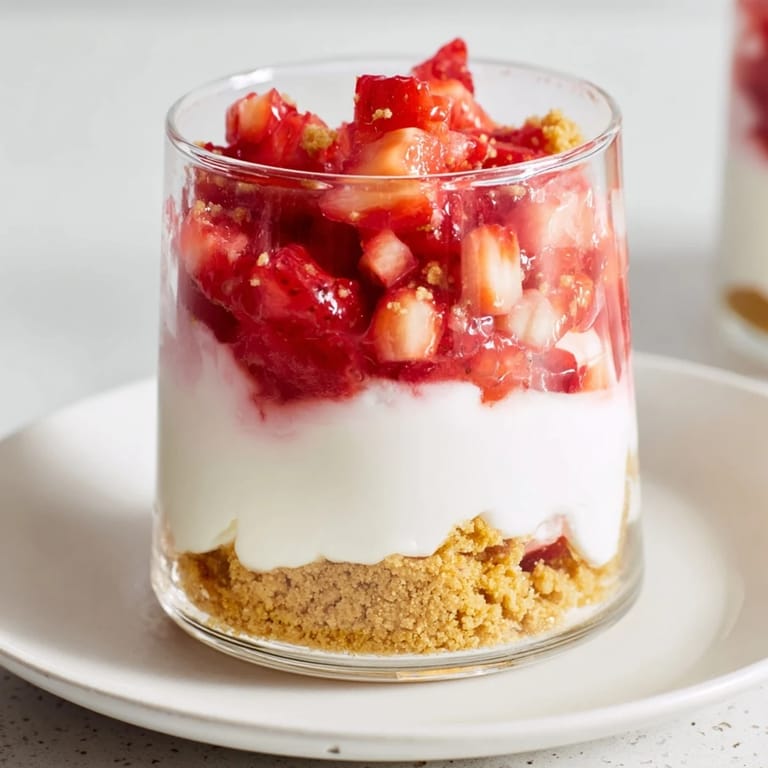
- Layer the first level:
- Spoon a layer of cookie crumble into the bottom of each cup, then add a generous dollop of cheesecake mixture, followed by a spoonful of macerated strawberries on top.
- Create the second layer:
- Repeat the same sequence—crumble, cheesecake, strawberries—so you get that visual drama when someone looks into the cup.
- Chill thoroughly:
- Refrigerate for at least an hour before serving. This solidifies the layers and makes every spoonful taste like you planned this from the beginning.
 Save
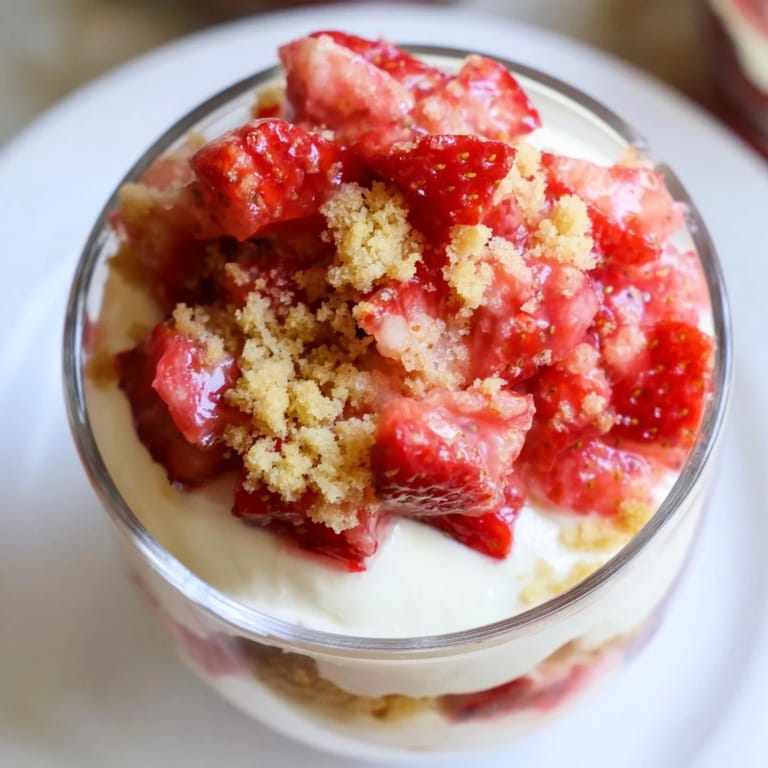
Save What struck me most was watching someone scrape the bottom of the cup to get every last bit of that crumbly layer mixed with strawberry juice. That's when you know you've made something memorable, not just something edible.
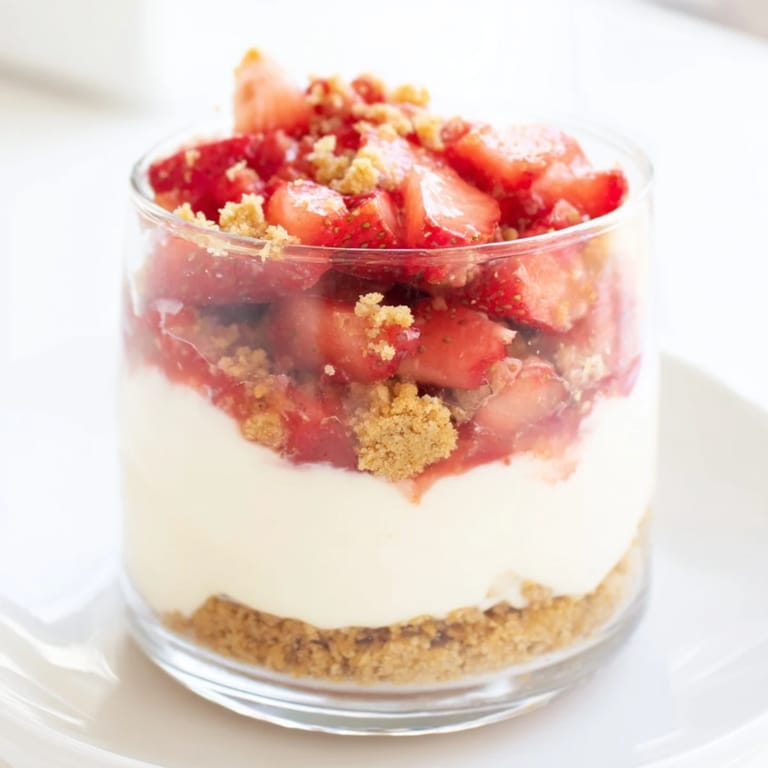
The Secret to Perfect Layers
The order matters more than you'd think. If you reverse the layers and put cheesecake on the bottom, everything gets soggy from the strawberry juice. Start with crumble, and it stays crispy throughout the whole chilling process. I also learned that slightly thinner layers look more impressive than one massive layer of each component—it tricks the eye into thinking this took way more effort than it actually did.
Making It Your Own
One of my favorite discoveries was adding a thin layer of strawberry jam between the cheesecake and berries. It sounds redundant, but it deepens the flavor in a way that catches people off guard. You can also swap in raspberries, blueberries, or even blackberries if strawberries aren't in season. The formula stays the same; only the fruit changes.
Make-Ahead Magic
These parfaits genuinely improve when made a day ahead—the flavors get to know each other, and the whole thing sets up more firmly. I've kept them in the fridge for up to thirty-six hours without any decline in quality. For an even lighter version, replace half the cream cheese with Greek yogurt; it gives you tang and still maintains that creamy texture.
- Assemble these the night before and your dessert stress vanishes entirely.
- Keep them in a shallow container so you can lift them out without disturbing the layers.
- If you're nervous about the crumbs staying crispy, do a thin butter layer between the crumble and cheesecake as a moisture barrier.
 Save
Save This dessert proves that simple, quality ingredients layered with intention beat elaborate techniques every single time. Serve them cold, watch someone's face light up, and take the credit—you've earned it.
Recipe FAQs
- → How do I macerate strawberries for the parfait?
Toss diced strawberries with sugar and lemon juice, then let them sit for about 10 minutes to release their juices and enhance sweetness.
- → Can I prepare this dessert in advance?
Yes, the layered cups can be assembled up to a day ahead and refrigerated to deepen the flavors and ease serving.
- → What alternatives exist for the cookie crumble layer?
Digestive biscuits or graham crackers work best, but you can substitute with crushed shortbread or nut-based cookies for variation.
- → Is it possible to lighten the creamy layer?
Replacing part or all of the cream cheese with Greek yogurt offers a lighter texture and tangy flavor without compromising creaminess.
- → How long should the dessert chill before serving?
Chill the assembled cups for at least one hour to allow the layers to set and meld flavors properly.