 Save
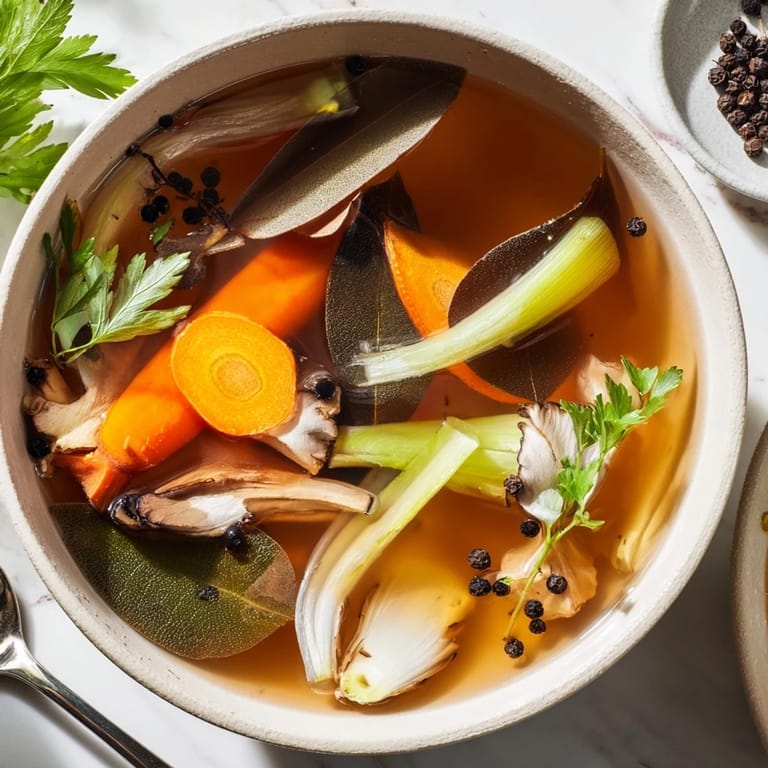
Save I started keeping a gallon bag in my freezer after watching my grandmother do the same thing for decades. Every time I chopped carrots, peeled onions, or trimmed celery, those bits went straight into the bag instead of the compost. When the bag gets full, that is my signal to make broth. There is something deeply satisfying about turning what most people throw away into something so nourishing and golden.
Last winter, my sister came down with a terrible flu and nothing sounded good to her. I made a fresh batch of this broth and brought it over in mason jars. She said it was the first thing that actually made her feel better, not just physically but emotionally too. Now she keeps her own scrap bag in the freezer.
Ingredients
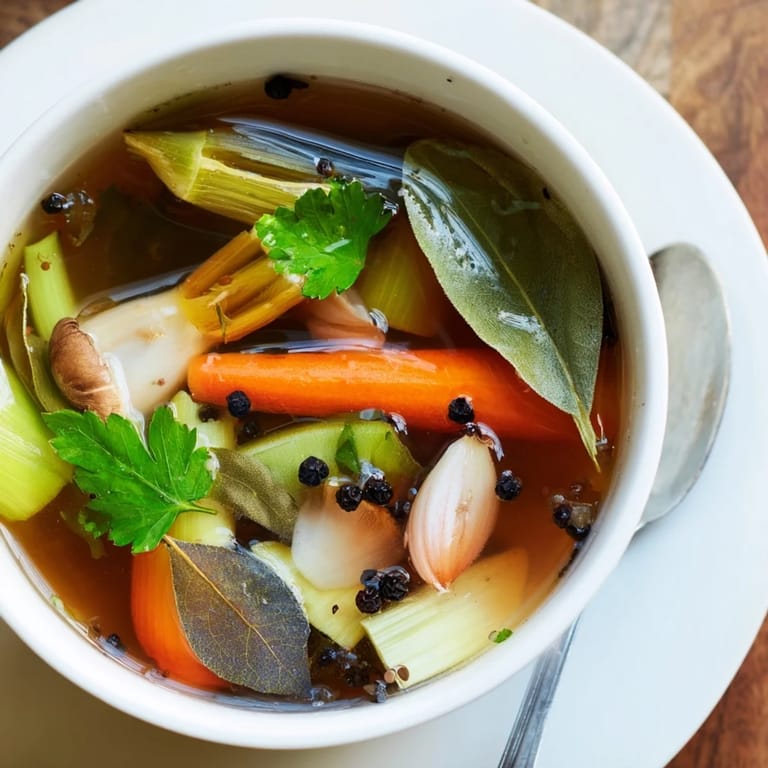
- Vegetable Scraps: 5 to 6 cups of carrot peels, onion skins, celery ends, leek tops, mushroom stems, garlic skins, and parsley stems. These are the foundation of flavor, so save them as you cook throughout the week.
- Bay Leaves: 2 whole leaves add a subtle earthy backbone that rounds out all the other vegetable flavors.
- Black Peppercorns: 8 to 10 whole berries give gentle warmth without the harsh bite of ground pepper.
- Fresh Herbs: A handful of parsley or thyme sprigs brightens everything and keeps the broth tasting fresh.
- Salt: 1 to 2 teaspoons, but wait until the end to adjust so you do not overseason.
- Cold Water: 2 liters helps extract flavors slowly and evenly.
Tired of Takeout? 🥡
Get 10 meals you can make faster than delivery arrives. Seriously.
One email. No spam. Unsubscribe anytime.
Instructions
- Gather Your Scraps:
- Pull that frozen bag from the freezer and dump everything into your biggest pot. This is the moment where kitchen economy becomes kitchen magic.
- Add Aromatics:
- Toss in the bay leaves, peppercorns, and any fresh herbs you have on hand. Pour in the cold water until everything is submerged by a couple inches.
- Bring to a Gentle Boil:
- Set the heat to medium high and wait for bubbles to appear around the edges. Once it reaches a boil, immediately turn it down to the lowest simmer.
- Simmer Patiently:
- Let it cook uncovered for about an hour, skimming any foam that rises to the top. Your kitchen will start smelling like a professional restaurant kitchen.
- Taste and Adjust:
- Dip in a spoon and taste the liquid. Add salt now if it needs it, remembering that you can always add more but cannot take it away.
- Strain Carefully:
- Set a fine mesh sieve over a large bowl and pour the broth through. Press down on the vegetables to extract every last bit of liquid gold.
- Cool and Store:
- Let the broth cool completely before transferring to containers. It keeps for 5 days in the fridge or freezes beautifully for months.
 Save
Save I once made a triple batch right before hosting a dinner party. The house smelled so welcoming that guests kept asking what was simmering on the stove. When I told them it was carrot peels and onion skins, nobody believed me until I showed them the scrap bag.
Building Your Scrap Collection
Start saving scraps today even if you do not have enough yet. Anything from the allium family works beautifully, and mushroom stems add incredible depth. Potato peels are fine too, just make sure they are well scrubbed first.
Customizing the Flavor
Add a piece of kombu seaweed or dried shiitake mushrooms if you want extra umami richness. A knob of fresh ginger or a star anise can transform this into an Asian style broth in seconds.
Making It Last
Freeze the broth in different sized containers so you always have the right amount on hand. Ice cube trays work perfectly for small portions when you just need a splash. Label everything with the date because frozen broth all starts to look the same after a while.
- Mason jars freeze well if you leave room for expansion
- Plastic freezer bags lay flat and save precious freezer space
- Never refreeze thawed broth, use it within three days
 Save
Save Every time you make this broth, you are turning waste into something beautiful. That is the kind of cooking that feels good in your bones.
Recipe FAQs
- → What vegetables work best for homemade broth?
Carrot peels, onion skins, celery ends, leek tops, mushroom stems, garlic skins, and parsley stems create the most flavorful base. Avoid cruciferous vegetables like broccoli and cabbage, which can impart bitterness to your finished broth.
- → How long does homemade vegetable broth last?
Store your strained broth in airtight containers in the refrigerator for up to 5 days. For longer storage, freeze in portion-sized containers or ice cube trays for up to 3 months. Thaw overnight in the refrigerator before using.
- → Can I add frozen vegetable scraps directly to the pot?
Absolutely. Keep a designated bag in your freezer and add trimmings as you cook. Once accumulated, simply dump the frozen scraps directly into your stockpot with water and aromatics. No need to thaw first—the simmering process extracts all flavors.
- → What gives this broth the deepest flavor?
A combination of bay leaves, black peppercorns, and fresh herbs like parsley or thyme creates complexity. For extra umami, add a piece of kombu seaweed or dried shiitake mushrooms during the simmering process. A longer, gentle simmer also concentrates flavors.
- → Should I salt my vegetable broth?
Add salt during cooking to enhance flavor extraction, but keep it light since you'll likely season the final dishes you create with this broth. Start with 1-2 teaspoons and adjust to taste. Remember that reducing the broth later will concentrate saltiness.