 Save
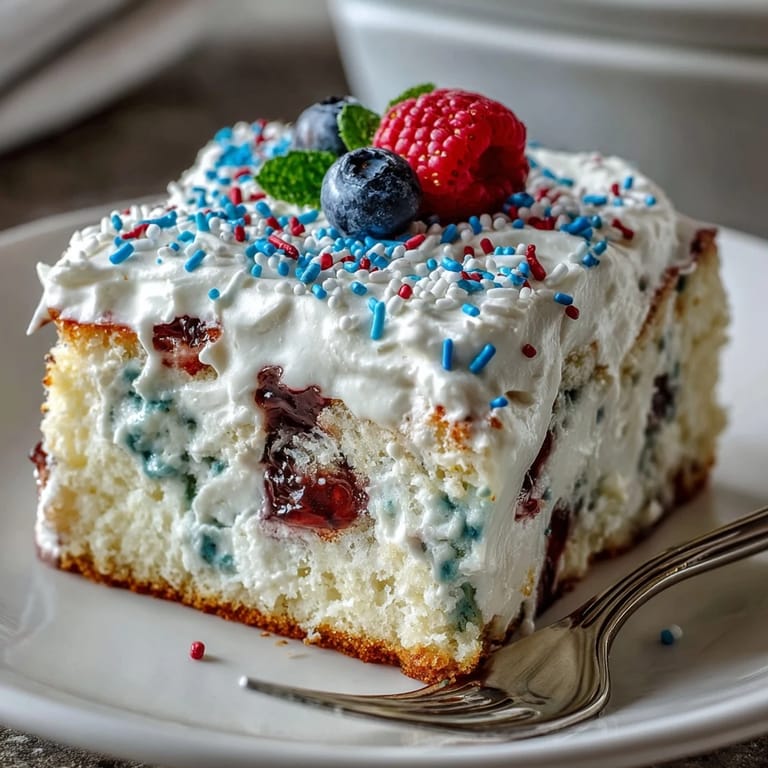
Save One late-May afternoon, the kitchen windows were flung wide open and the distant echo of neighborhood fireworks set the backdrop to my adventure with this Memorial Day Red White Blue Poke Cake. I hadn't planned for anything extravagant, but the idea of swirling vivid stripes through a simple cake seemed just right—easy but exuberant. The hum of the electric mixer competed with the laughter from somewhere outside, reminding me that some recipes beg to be made with celebration in the air. I found myself grinning as the red and blue gelatin seeped into the cake’s warm crumb, tiny splashes painting bright streaks against snowy white. There's nothing like a cake that looks as cheerful as the holiday it honors.
Last year, my friends and I gathered for an impromptu barbecue—someone mentioned needing a ‘finale dessert’ so I whisked this poke cake together on a whim. When I pulled it from the fridge, cold and dazzling with its stars-and-stripes sprinkles, everyone wanted to know my secret for those vibrant layers swirling beneath the surface.
Ingredients
- White cake mix (1 box 15.25 oz): The blank canvas—choose one with a fine, moist crumb for soaking up all that gelatin.
- Water (1 cup): Helps achieve the right batter consistency without heaviness.
- Vegetable oil (1/2 cup): Keeps the cake extra tender, so don't swap it for butter unless you like a dense texture.
- Large eggs (3): Vital for structure—let them come to room temp for an even rise.
- Strawberry or cherry-flavored gelatin (3 oz): This brings the bold red streaks; go for cherry if you love a tangy edge.
- Berry blue gelatin (3 oz): The pop of blue always wows—make sure to dissolve fully so there aren't any grainy bits.
- Boiling water (2 cups, divided): Use truly boiling water to ensure gelatins mix smoothly.
- Cold water (2 cups, divided): Gives the gelatin its bouncy set for perfect stripes.
- Frozen whipped topping, thawed (8 oz): This creamy layer ties everything together and is a breeze to spread.
- Red, white, and blue sprinkles (2 tablespoons): The cake’s finishing touch—a little goes a long way.
- Fresh strawberries and blueberries (optional): When you want to dress it up, these add real berry juiciness to the top.
Tired of Takeout? 🥡
Get 10 meals you can make faster than delivery arrives. Seriously.
One email. No spam. Unsubscribe anytime.
Instructions
- Preheat and prepare:
- Set your oven to 350°F 175°C and grease a 9x13-inch baking dish; make sure to coat the corners so nothing sticks.
- Mix and bake the cake:
- Combine cake mix, water, oil, and eggs, then pour into your dish—mix until smooth and airy, but don't overdo it, or the cake gets tough.
- Cool and poke holes:
- Let the cake cool for 15 minutes, then use the handle of a wooden spoon to poke holes every inch; this is where the magic seeps in.
- Prepare gelatins:
- In separate bowls, dissolve each gelatin packet with 1 cup boiling water and then stir in 1/2 cup cold water to each—smell the fruity puffs as they bloom.
- Divide and pour gelatin:
- Gently spoon the red gelatin over half the holes and the blue over the other half, letting each drizzle settle and soak; try to alternate for a streaky effect.
- Chill the cake:
- Refrigerate for at least 2 hours—the hardest part is waiting as the colors fully set and the cake becomes cool all the way through.
- Add toppings:
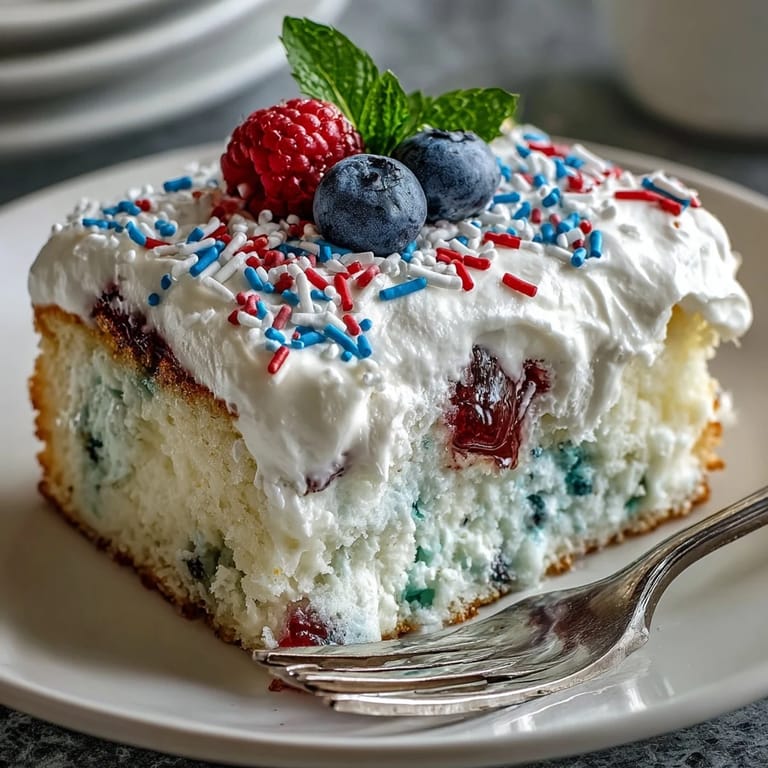
- Spread the whipped topping in glorious billows, then scatter sprinkles and any fresh berries for a fireworks finish.
- Slice and serve:
- Cut into generous squares and serve chilled—the colors inside never fail to draw a crowd.
 Save
Save I’ll never forget my nephew’s delighted gasp when he cut into his slice and found streaks of patriotic colors hidden inside—it turned dessert into a tablewide guessing game about which piece was the boldest.
Swapping Flavors for a Personal Touch
Once I tried swapping in raspberry and blue raspberry gelatins for fun, and it gave the cake an unexpectedly sharp, summery twist. Play around with the flavor pairings or even layer different shades for a watercolor effect—the cake is forgiving and flexible, just like a laid-back summer picnic should be.
All About Chilling for Perfect Texture
The real secret is patience: you want to let the colors set and mingle through the cake so every slice comes out clean and gorgeous. If you’re in a rush, pop the cake in the freezer for a short spell to speed things up (but don’t let it freeze solid, or the texture will get icy).
Decorating for Maximum Festivity
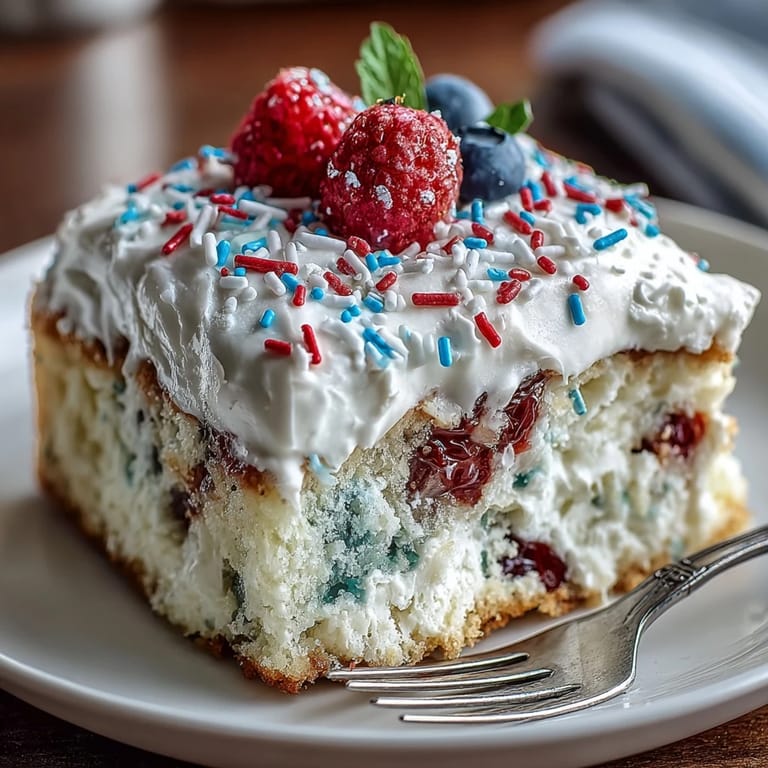
A dramatic swoosh of whipped topping and a blizzard of sprinkles always set the mood for a party. I sometimes arrange berries in neat little rows, or just scatter them across for a carefree look.
- Sprinkles go on right before serving so they stay crisp and colorful.
- If you want extra shine, brush berries with a touch of warmed jelly.
- Don’t forget to serve chilled—the cake is at its best when refreshingly cold.
 Save
Save This cake always draws people together, sparking conversations and lots of playful competition for the brightest slice. I hope it brings a splash of joy and color to your own celebrations, just as it has to mine.
Recipe FAQs
- → How do I keep the gelatin from running together?
Allow each gelatin batch to cool slightly before pouring so it’s still liquid but not piping hot. Pour gently into alternating holes and give each color a moment to settle before adding the next to preserve distinct pockets of color.
- → Can I use fresh berries instead of sprinkles?
Yes. Fresh strawberries and blueberries add texture and a natural finish—slice strawberries for even coverage. Use sprinkles too if you want a classic crunchy contrast.
- → What’s the best way to poke the holes?
Use the handle of a wooden spoon to poke holes about 1 inch apart across the cake. Press down until you reach the pan to create a channel for the gelatin to seep in evenly.
- → Can I make substitutions for gelatin flavors?
Swap in other fruit-flavored gelatins to vary color and taste. Keep proportions and liquid amounts the same so the set remains firm and the colors stay vibrant.
- → How long should the cake chill before topping?
Chill at least 2 hours, or until the gelatin is fully set. Longer chilling helps flavors meld and makes slicing cleaner when serving chilled slices.
- → How should I store leftovers?
Cover the pan tightly and refrigerate. Best eaten within 24 hours to prevent the whipped topping from weeping and the gelatin from softening excessively.